Create Email Service in NestJS with Sendgrid, MJML and Handlebars
Create email service in Nest.js using MJML for responsive email template and handlebars for dynamic email content, and send email using Sendgrid (Twilio).
Create email service in Nest.js using MJML for responsive email template and handlebars for dynamic email content, and send email using Sendgrid (Twilio).

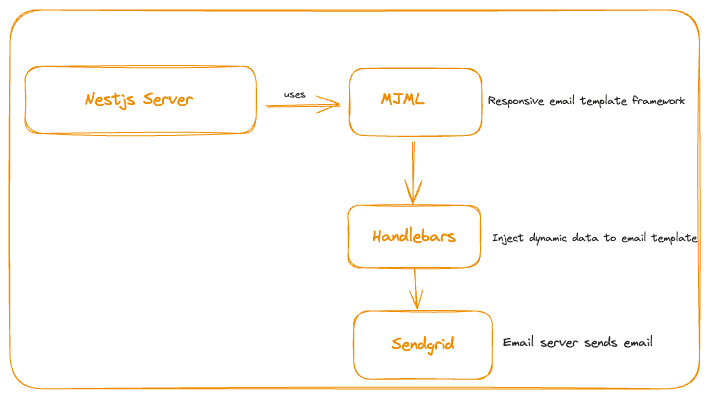
The main goal of this tutorial is to create a resuable email service in Nest.js application using MJML for responsive email template and Handlebars for dynamic email content, and send email using Sendgrid (Twilio).
Before starting, here's the overview of all the entities that we will be using to create the email service.
Create sendgrid account, go to settings and create an API key by adding the API key name and giving Full Access permission. While creating sendgrid account, you will be asked to verify your email address, so make sure to verify your email address.
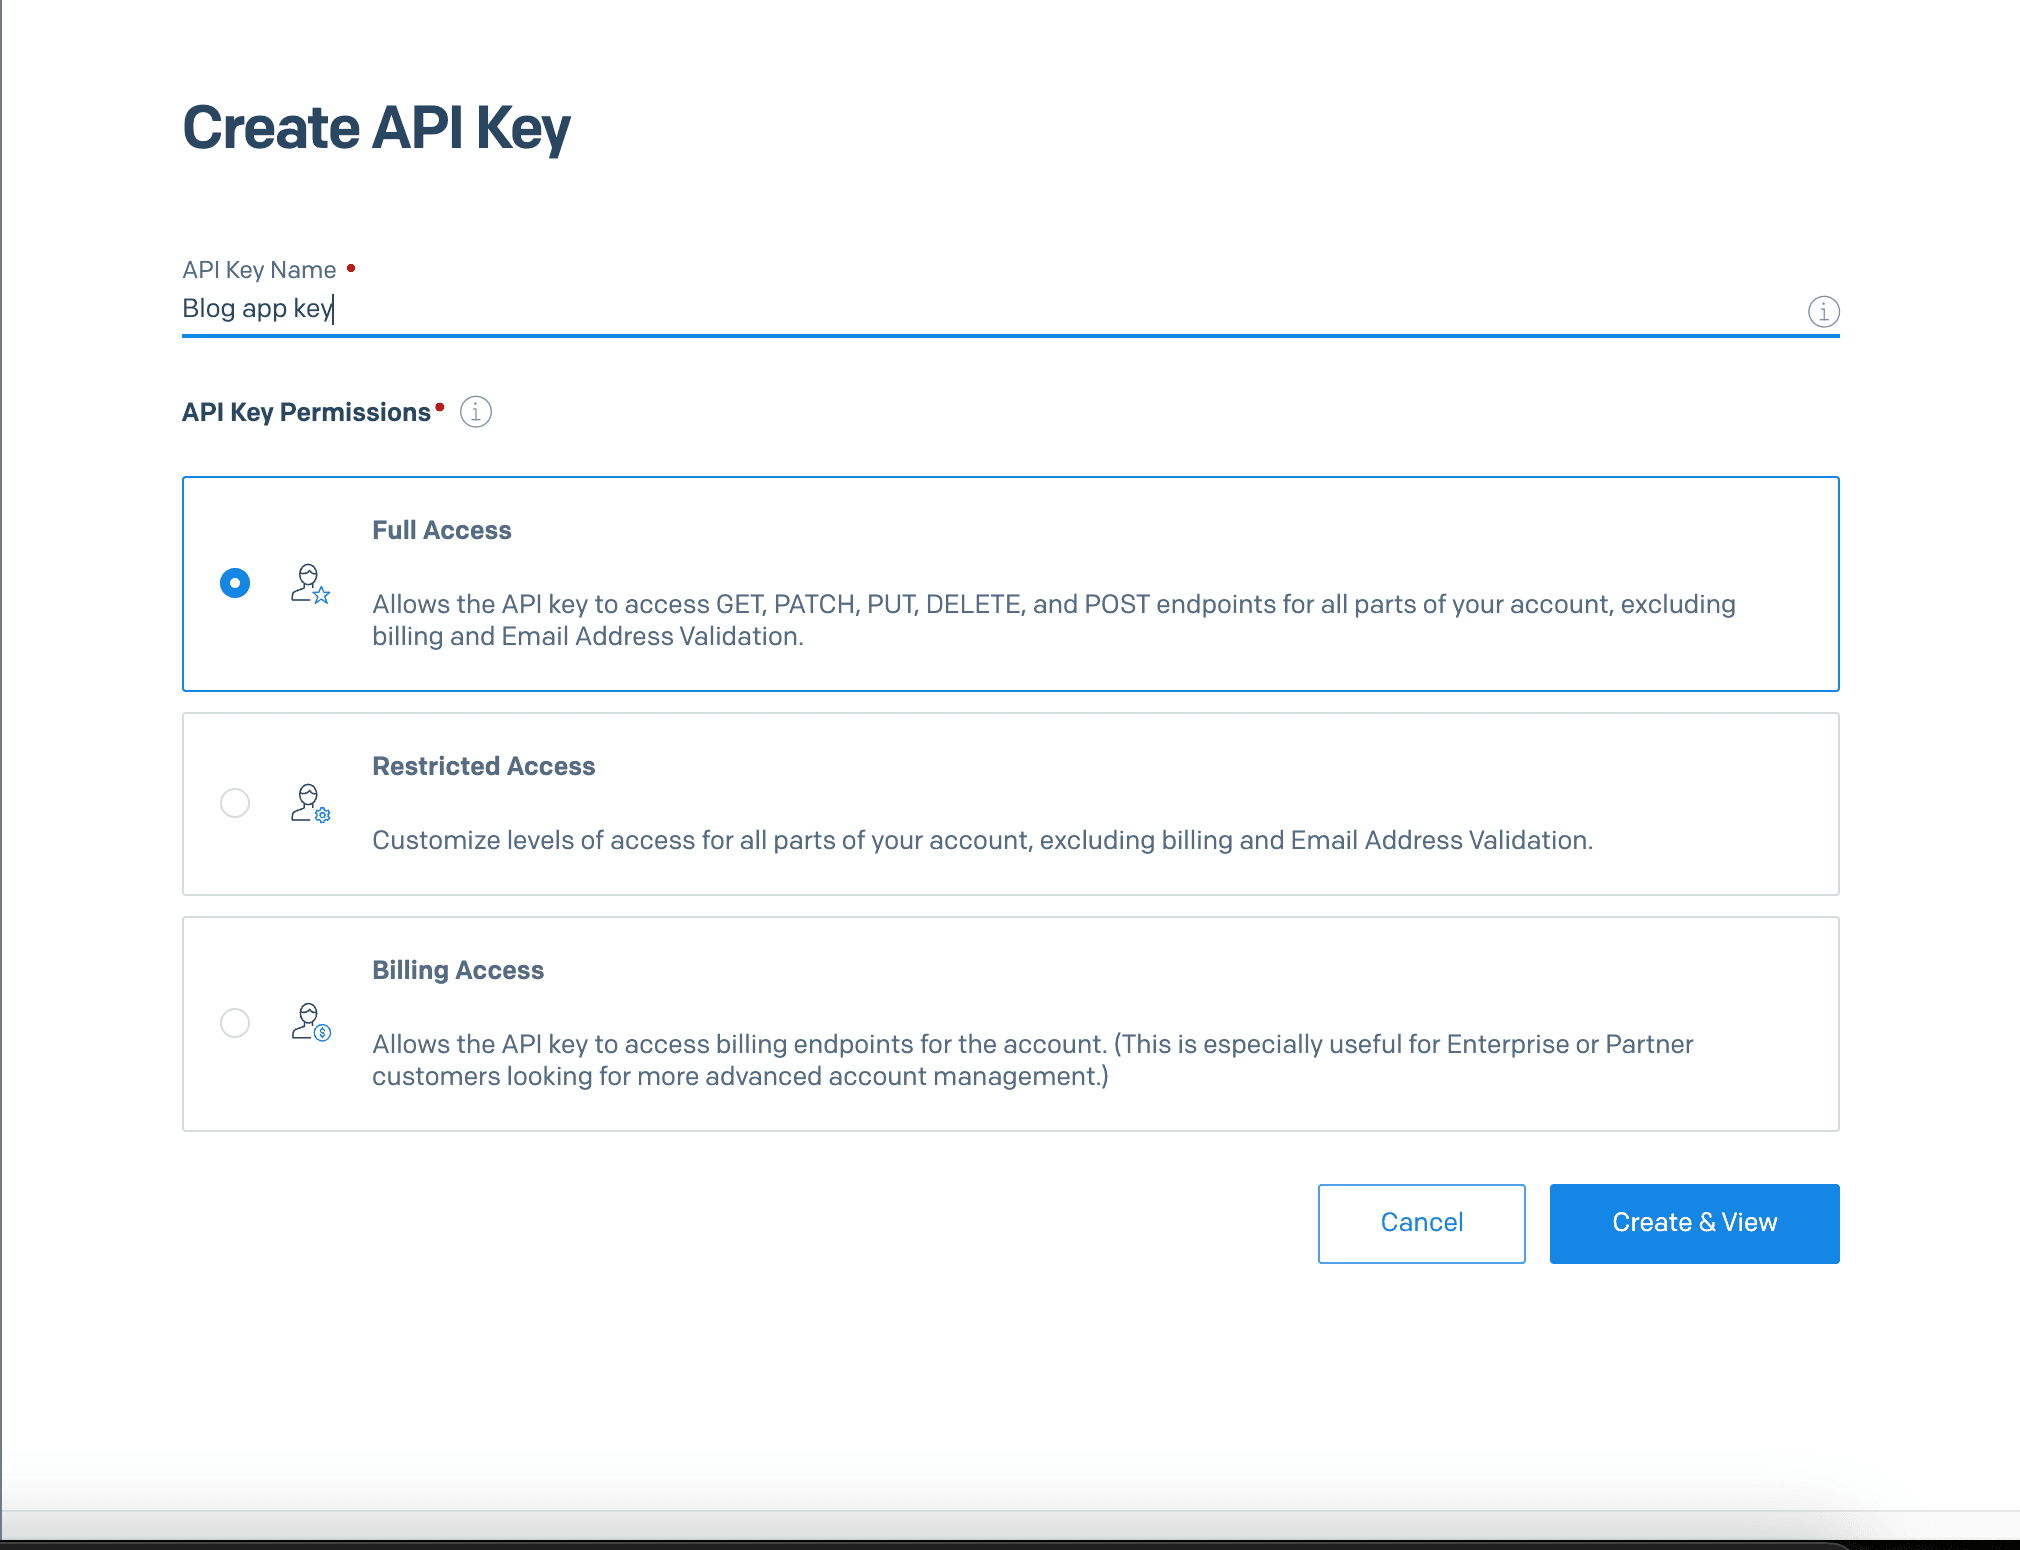
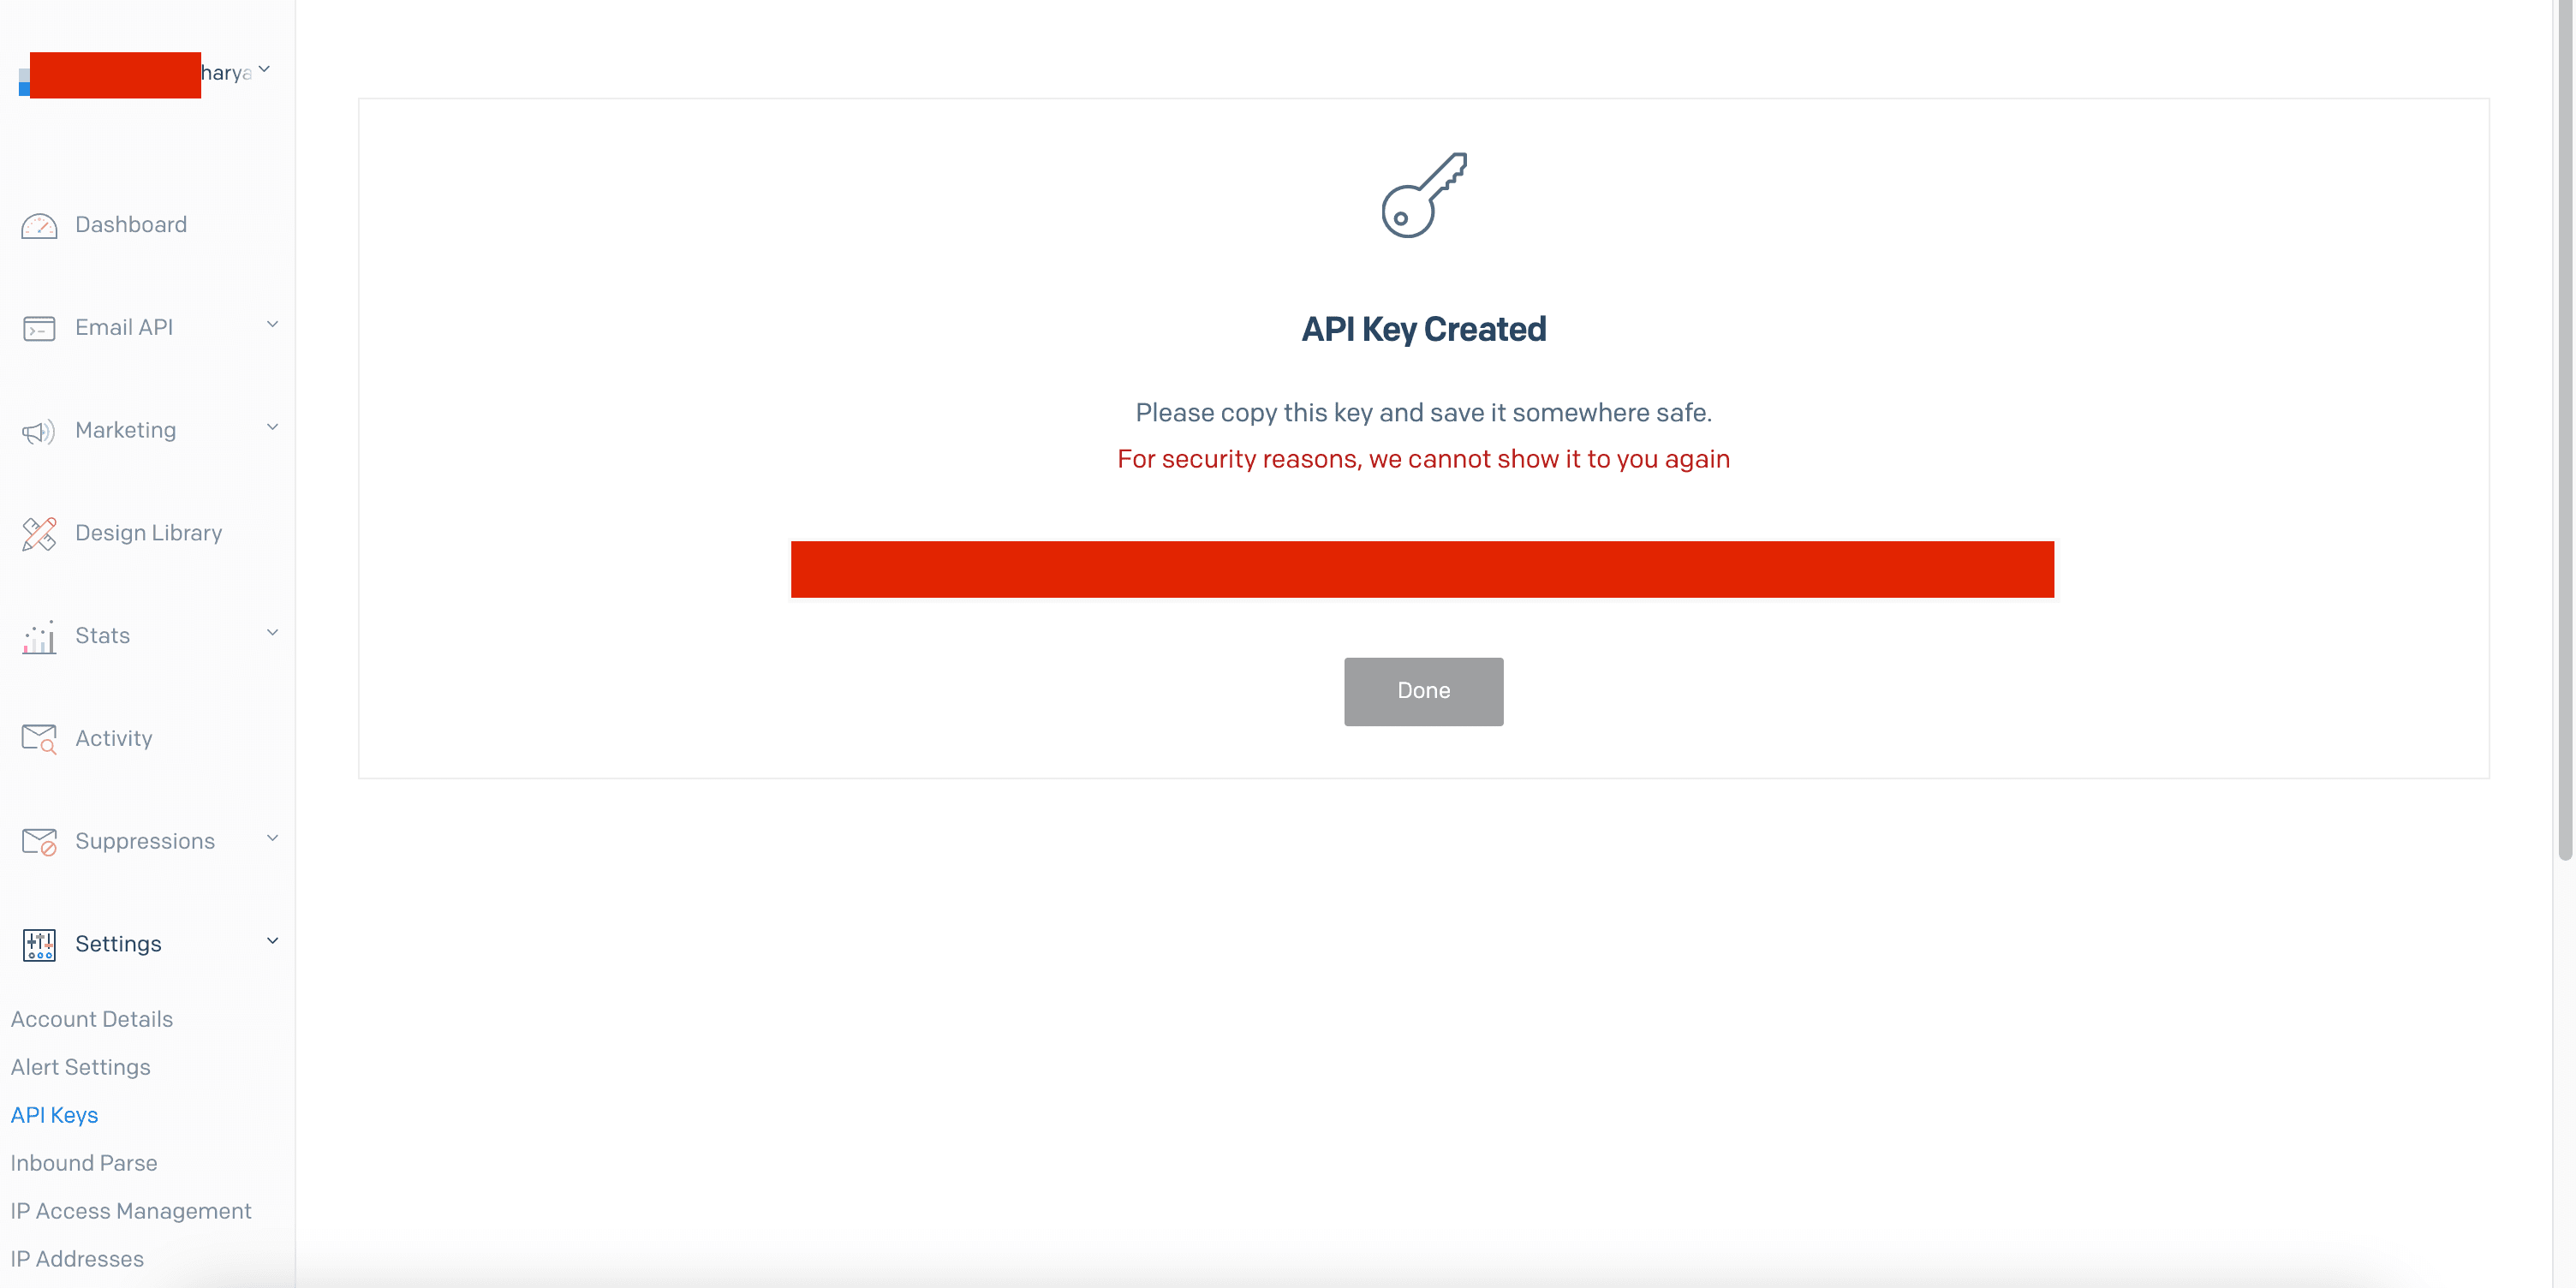
Copy the API key and save it somewhere safe, we will use it later.
We will assume that you have already created a Nest.js application, create a new module called mailerand its service respectively.
nest g module mailer
nest g service mailer
Install the following packages to create email service in Nest.js application.
npm install @sendgrid/mail mjml handlebarsFirst lets configure the Sendgrid API key and sender email address in the environment variables,
SENDGRID_API_KEY=your-sendgrid-api-key
SENDGRID_SENDER=your-email-address
Inside mailer.service.ts we will configure the Sendgrid API key and sender email address,
mailer/mailer.service.ts
import { Injectable } from '@nestjs/common';
import { ConfigService } from '@nestjs/config';
import * as sgMail from '@sendgrid/mail';

@Injectable()
export class MailerService {
  private emailSender: string;
  private enabled = true;

  constructor(
    private readonly configService: ConfigService,
  ) {

    const apiKey = this.configService.get('SENDGRID_API_KEY');
    if (!apiKey) {
      console.error('SENDGRID_API_KEY not found in environment variables');
      this.enabled = false;
    }

    sgMail.setApiKey(apiKey);
    this.emailSender = this.configService.get('SENDGRID_SENDER');
  }

}Since we are creating the resuable email service, it will be very redundant to create separate methods for each email template, so we will create a generic method to send email using email templates.
Also lets another service called template.service.ts inside the mailer module, this service will be responsible for picking up the email template and rendering the template with the dynamic content.
nest g service mailer/templateOr you can create file called template.service.ts inside the mailer module manually.
This service job is to get the template as per the template name and render the template with the dynamic content.
mailer/template.service.ts
import { Injectable } from '@nestjs/common';
import { readFile } from 'fs/promises';
import mjml from 'mjml';
import path from 'path';
import * as Handlebars from 'handlebars';

// types
export enum TemplateTypeEnum {
  emailConfirmation = 'email-confirmation',
}

export type EmailMetadata = {
  subject: string;
};

export abstract class EmailTemplate<T> {
  constructor(public context: T) {}
  public name: TemplateTypeEnum;
  get data(): T | unknown {
    return this.context;
  }
}

export interface BuiltTemplate {
  html: string;
  metadata: {
    subject: string;
  };
}


// service code
@Injectable()
export class TemplateService {

  async getTemplate<T>({
    name,
    data,
  }: EmailTemplate<T>): Promise<BuiltTemplate> {
    try {
      // pass the template name to produce html template
      const result = await this.getEmailTemplate(name);

      // compile handlebars template
      const template = Handlebars.compile<typeof data>(result.html);

      // build final output with data passed i.e eg : firstname, lastname, etc
      const html = template(data);

      // extract extra info (eg. subject) from the template
      const metadata = await this.getEmailData(name);

      return { html, metadata };
    } catch (error) {
      console.error(`Error reading email template: ${error}`);
      throw new Error(error);
    }
  }

  async getEmailTemplate(
    templateName: TemplateTypeEnum,
  ): Promise<ReturnType<typeof mjml>> {
    try {
      const file = await readFile(
        path.resolve(__dirname, './templates', `${templateName}.mjml`),
        'utf8',
      );

      return mjml(file);
    } catch (error) {
      console.error(`Error reading email template: ${error}`);
      throw new Error(error);
    }
  }

  async getEmailData(templateName: string): Promise<EmailMetadata> {
    try {
      const contents = await readFile(
        path.resolve(__dirname, './templates', `${templateName}.json`),
        'utf8',
      );
      return JSON.parse(contents);
    } catch (error) {
      console.error(`Error reading email template: ${error}`);
      throw new Error(error);
    }
  }
}
The above code might be bit tempting but here's what each function does,
getTemplate : This function will get the template as per the template name and render the template with the dynamic content.getEmailTemplate : This function will read the MJML template file and return the parsed MJML template.getEmailData : This function will read the JSON file which contains the metadata of the email template.I've used TemplateTypeEnum as enum to define the template names, you can add more templates as per your requirement.
Also, I've used EmailTemplate as abstract class to define the template structure, you can add more properties as per your requirement.
Now, lets create the email templates using MJML and Handlebars.
Create a folder called templates inside the mailer module, and create a file called email-confirmation.mjml and email-confirmation.json inside the templates folder.
Note : the file name should be same as the template name defined in the TemplateTypeEnum enum.
mailer/templates/email-confirmation.mjml
<mjml>
  <mj-body>
    <mj-section>
      <mj-column>
        <mj-text>
          Hello {{firstname}} {{lastname}},
        </mj-text>
        <mj-text>
          Thank you for registering with us.
        </mj-text>
      </mj-column>
    </mj-section>
  </mj-body>
</mjml>
mailer/templates/email-confirmation.json
{
  "subject": "Email Confirmation"
}
The email-confirmation.mjml file contains the MJML template, and email-confirmation.json file contains the metadata of the email template.
You can create your own email template using MJML using their live playground here.
Currently, the email-confirmation.json contains only static data but we will add more dynamic data as we proceed.
You also need to update the nest-cli.json file to watch the assets folder and copy the templates to the dist folder.
nest-cli.json
{
  "$schema": "https://json.schemastore.org/nest-cli",
  "collection": "@nestjs/schematics",
  "sourceRoot": "src",
  "compilerOptions": {
    "deleteOutDir": true,
    "assets": [
      {
        "include": "mailer/templates/**/*",
        "outDir": "dist/src"
      }
    ],
    "watchAssets": true
  }
}
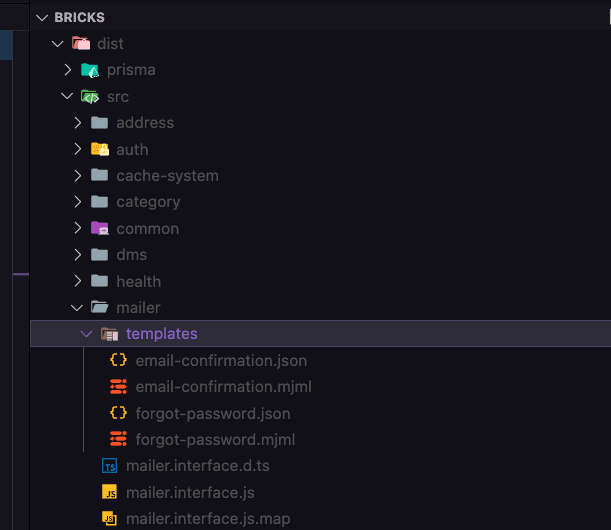
If you check dist folder in root directory, you will see the mailer/templates folder with the email templates. The output will look like below,
Now, lets create a function called sendEmailFromTemplate inside the mailer.service.ts to send the email using Sendgrid.
mailer/mailer.service.ts
import { Injectable } from '@nestjs/common';
import { ConfigService } from '@nestjs/config';
import * as sgMail from '@sendgrid/mail';
import { TemplateService, EmailTemplate, BuiltTemplate } from './template/template.service';


export type EmailData = string | { name?: string; email: string };

export interface Email {
  to: EmailData[];
  cc?: EmailData[];
  from: EmailData;
  subject: string;
  html: string;
}


@Injectable()
export class MailerService {
  private emailSender: string;
  private enabled = true;

  constructor(
    private readonly configService: ConfigService,
    private readonly templateService: TemplateService,
  ) {

    const apiKey = this.configService.get('SENDGRID_API_KEY');
    if (!apiKey) {
      console.error('SENDGRID_API_KEY not found in environment variables');
      this.enabled = false;
    }

    sgMail.setApiKey(apiKey);
    this.emailSender = this.configService.get('SENDGRID_SENDER');
  }

 async sendEmailFromTemplate<T>(
    template: EmailTemplate<T>,
    emailInfo: Partial<Email> & { to: EmailData[] },
    settings: sg.MailDataRequired['mailSettings'] = {},
  ) {
    if (!emailInfo.to.length) {
      throw new Error('No recipient found');
    }

    const { html, metadata } = await this.templateService.getTemplate(template);

    return this.send(
      {
        to: emailInfo.to,
        from: emailInfo.from ?? this.emailSender,
        subject: metadata.subject,
        html,
      },
      settings,
    );
  }
}
The sendEmailFromTemplate function will get the template as per the template name and render the template with the dynamic content, and send the email using Sendgrid.
Now, lets use the mailer service in the auth module to send the email confirmation email to the user. I've assumed that you have already created the auth module and its services.
Before thet we will create a new class called EmailConfirmation which extends EmailTemplate class to define the dynamic content of the email template. We will place this inside the auth/interfaces folder.
auth/interfaces/email-confirmation.ts
import { EmailTemplate, TemplateTypeEnum } from '../../mailer/template/template.service';

export class EmailConfirmation extends EmailTemplate<{ firstname: string; lastname: string }> {
  name = TemplateTypeEnum.emailConfirmation;
}
Now, lets use the mailer service in the auth module to send the email confirmation email to the user.
auth/auth.service.ts
import { Injectable } from '@nestjs/common';
import { MailerService } from '../mailer/mailer.service';
import { EmailConfirmation } from './interfaces/email-confirmation';

@Injectable()
export class AuthService {
  constructor(private readonly mailerService: MailerService) {}

  // some other service code which calls this.sendEmailConfirmation() function

  async sendEmailConfirmation(firstname: string, lastname: string, email: string) {
    const emailTemplate = new EmailConfirmation({ firstname, lastname });

    return this.mailerService.sendEmailFromTemplate(emailTemplate, {
      to: [{ email }],
    });
  }
}
The sendEmailConfirmation function will now send the email confirmation email to the user with the dynamic content firstname and lastname.
You can call the mailService.sendEmailConfirmation() function from from any service or controller to send the email confirmation email to the user.
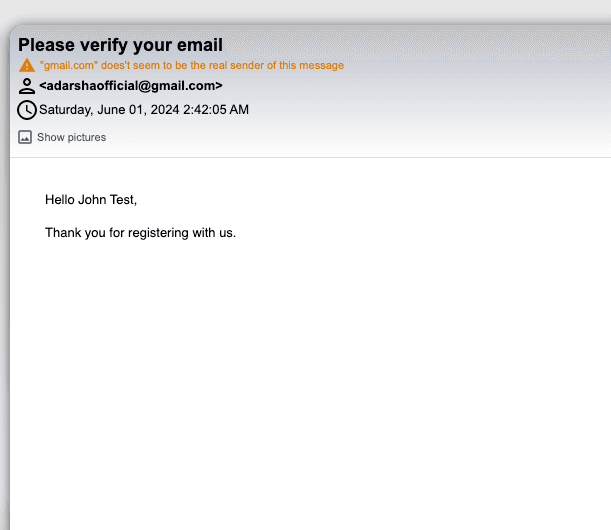
Upon checking the email in the inbox, you will see the email confirmation email with the dynamic content firstname and lastname.
The complete source code for this tutorial can be found here, although I've minimized the code from the Github source code in this tutorial.